One of America’s leading naturalists of the 19th century was the prolific Louis Agassiz (1807–1873), who, while teaching at Harvard, taught his students the skill of in-depth observation of natural objects. He did it by what his students termed “the incident of the fish.”
On the first day of class, Agassiz would put a large dead fish on a tin tray and lay it before his beginning students. “Now, look at your fish,” Agassiz would say. He’d then leave the room, not returning until hours later, if at all that day. As a result, the students either learned to look intently — to study every minute detail of the fish — or simply quit the class out of frustration.
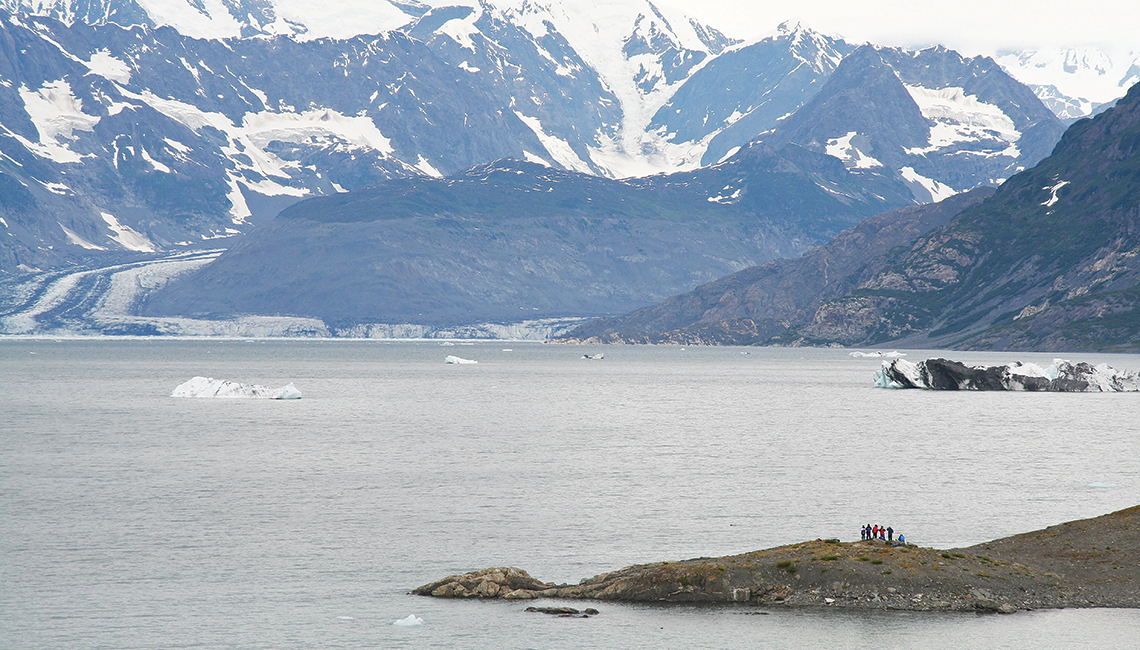
Caribou antlers frame Mt. Denali at Denali National Park, Alaska.
The same approach can be used to learn outdoor photography. Not that you have to stare at the same photo subject for hours on end, but developing the ability to “see” the details of photos before you attempt to take them is a crucial skill — yet one that anyone can learn.
One of Ohio’s best outdoor photographers is Art Weber, founding director of the Nature Photography Center for Metroparks Toledo. He says there’s a difference between looking at the natural world as an artist and as a photographer.
“A painter begins with a blank canvas, then adds the image he wants to create,” Weber says. “A photographer is faced with the opposite situation. He or she has to edit the natural world through the viewfinder of the camera. In other words, a photographer has to answer two basic questions: What am I going to include in my photo and what am I going to leave out? My personal rule of thumb is to simplify a photo subject. You want to reduce a photo to what attracted you to take that particular shot in the first place.”
Weber also emphasizes the importance of light on outdoor subjects. “Beginning photographers talk about equipment, while the true masters of photography talk about lighting,” he says. “Light is what gives a photo subject color, shape, form, texture — everything in outdoor photography depends upon the intensity and direction of the natural light a photographer must deal with at different times of the day.”
I have been taking outdoor photos for decades — so long, in fact, that some of my younger photographer buddies claim I have a few grainy, black-and-white prints of actual, live dinosaurs tucked away in my desk. I will not confirm or deny that rumor, but one of the things that helped me learn to “see” photos was studying the shots published in magazines, books, calendars, and the like, and asking two basic questions: First, why did an editor choose to print a particular photo? And second, how did the photographer get that particular shot? Of course, to answer that second question, you have to answer a few more, such as: What was the camera angle? What focal-length lens was used? What might the camera’s exposure settings have been?
Another tip to producing great outdoor photos is to buy the best photography equipment you can afford. At the same time, however, you must realize that no camera, regardless of its price tag, guarantees good photos. It’s the photographer behind the camera who actually takes the photograph, not the camera.
The natural world is so vast and its subjects so varied that those new to outdoor photography often find it difficult to decide on a subject. Once they do, they find it’s just as difficult to figure out how to photograph it. Relax — you’re not alone. Photographers have always dealt with those two dilemmas. The good news is that “seeing” photos becomes easier with practice. So get outside and start clicking. Just remember: Before you push that shutter-release button, make sure to “look at your fish.”
W.H. “Chip” Gross is Ohio Cooperative Living’s outdoors editor and a member of Consolidated Cooperative.
