For years, hunters have been using trail cameras to scout for game, which, in the Buckeye State, usually means white-tailed deer. But, interestingly, a growing segment of the trail-camera market now has nonhunters purchasing the relatively inexpensive cameras to capture wildlife images 24/7.
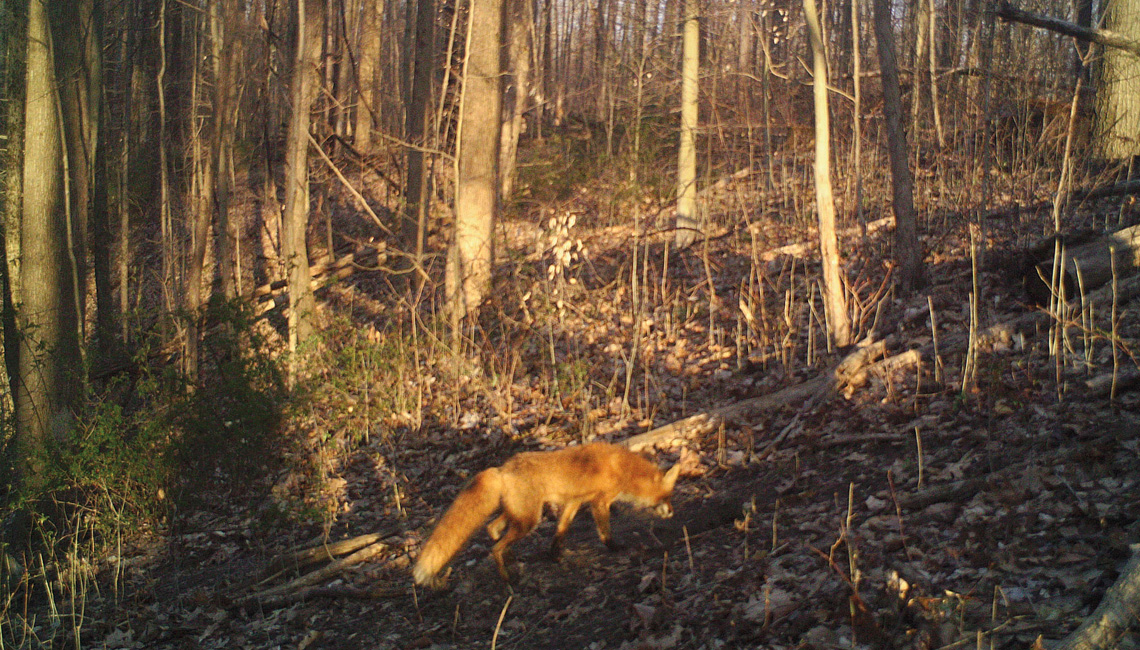
For instance, I’m not a deer hunter, but my wife and I maintain a corn-filled deer feeder on our rural property in north-central Ohio during the winter months. In addition to attracting deer, a certain red fox gave us a chuckle one night. He stopped at the salt block we have lying on the ground near the feeder and gave it a sniff. He then proceeded to lift one of his rear legs and squirt the salt block before trotting on. I wouldn’t have wanted to be the next deer licking that salt block!
For years, Robert Bush Sr. has been using trail cameras set up near downed logs spanning small streams in Pennsylvania to capture photos of wildlife crossing the logs.
Trail cameras take both still photos and video clips of wildlife and provide endlessly entertaining images. If there’s someone on your Christmas list who would like to try this fun and fascinating outdoor hobby — or if you’d like to try it yourself — here are a few suggestions to help get you started, based on my own experience:
What trail camera should I buy?
As with buying any photography equipment, it’s always wise to purchase the best camera your budget allows. This pays dividends not only in the quality of photos, but also in the longevity of the camera. Expect to pay less than $100 or as much as several hundred dollars for a trail camera. The price will depend mainly upon whether or not cellular capability is important to you, as some advanced trail cameras can transmit photos from the field directly to your cellphone or other electronic devices. However, you’ll pay a premium for that service.
One item not to skimp on is the removable memory card a camera requires. Most trail cameras operate on an SD card — short for secure digital — and the specs for a particular camera will list the size of card needed for best results. Always buy quality memory cards!
Where should I set up my trail camera?
In addition to monitoring home deer feeders and bird feeders, you can mount the camera most anywhere: adjacent to wildlife trails or watering areas, overlooking feeding areas and food plots, along woods roads or field edges — the possibilities are endless. Choose a relatively flat area that’s clear of brush so the camera has an unobstructed view of any approaching animals.
How should I set up my trail camera?
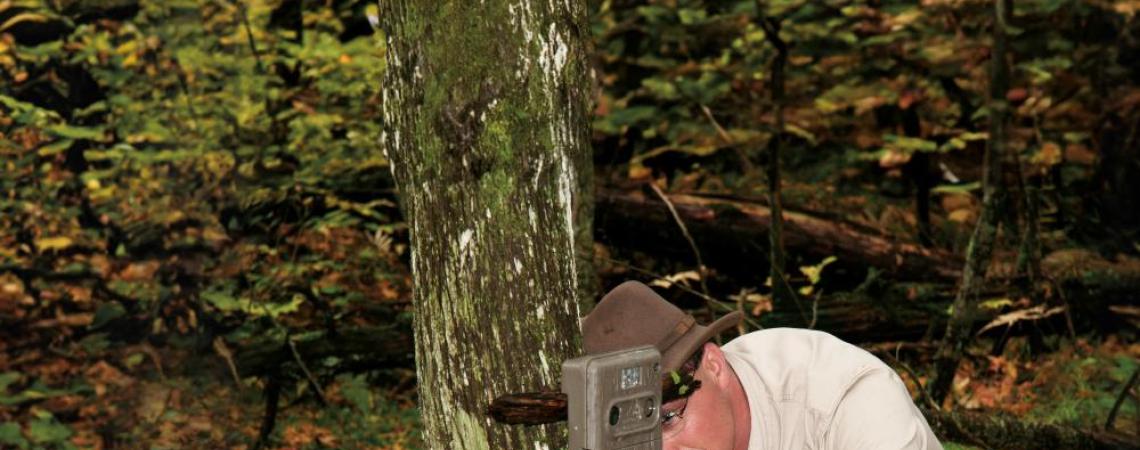
If at all possible, point the camera north. Since the sun rises in the east and sets in the west, if you aim your camera in either of those two directions, the movement of the sun throughout the day may inadvertently trigger the camera. Likewise, do not point the camera south. In North America, the sun is in the southern sky, so if aimed that direction, your photo subjects will be backlit on sunny days. Pointing your camera north avoids all of those issues, giving you the best photos possible.
Also, when positioning a trail camera along a game trail, aim it either up or down the trail, not directly perpendicular to the trail. In other words, give the camera as much distance as possible to detect a moving animal and take the photo. Keep in mind, too, that most trail cameras are designed to take photos at relatively close distances, usually 20 to 40 feet.
One last tip concerns security. Replace the nylon strap that comes on your trail camera with a length of dark-colored or camouflaged parachute cord. The cord is narrower than the camera’s original strap, hence much less obvious in the woods. Many trail cameras have been stolen by thieves who first noticed a wide strap around a tree, not the camera itself.
W.H. “Chip” Gross is Ohio Cooperative Living’s outdoors editor. Email him with your outdoors questions at whchipgross@gmail.com. Be sure to include “Ask Chip” in the subject of the email. Your question may be answered on www.ohiocoopliving.com!
